Installing a smart dishwasher is a fantastic way to upgrade your kitchen with modern technology, offering convenience, efficiency, and improved energy savings. Smart dishwashers come with features like remote control via smartphone apps, voice assistant compatibility, and customizable wash cycles, making them a valuable addition to any home. This comprehensive guide will walk you through the installation process, ensuring that your new appliance is set up correctly and safely. Let’s dive into the detailed steps, from preparation to final testing and maintenance.
A smart dishwasher integrates traditional dishwashing functions with advanced technology, providing an enhanced user experience. Unlike standard dishwashers, smart dishwashers can be controlled remotely, often feature voice command capabilities, and offer diagnostic alerts, among other benefits. These appliances can help optimize water and energy usage, and they often come with specialized cleaning cycles that cater to different types of dishes and levels of dirtiness.
Installing a smart dishwasher may seem daunting, but with the right tools, knowledge, and a step-by-step approach, it can be a manageable task. This guide will provide a thorough overview, helping you ensure a smooth installation process.
Pre-Installation Preparation

Before you start installing your new smart dishwasher, it’s essential to prepare adequately. Proper preparation ensures a smooth installation process and helps avoid potential issues.
Tools and Materials Needed:
- Screwdrivers (Phillips and flathead)
- Adjustable wrench
- Pliers
- Wire nuts
- Teflon tape
- Bucket or pan (for catching water)
- Level
- Electrical tape
- Utility knife
- Hose clamps
- Dishwasher installation kit (if not included with the dishwasher)
Safety Precautions:
- Turn Off the Power and Water Supply: Safety is paramount when working with electrical and plumbing systems. Locate your home’s circuit breaker and turn off the power supply to the area where you’ll be working. Also, shut off the water supply to the existing dishwasher.
- Proper Ventilation: If your kitchen has limited ventilation, ensure proper airflow during the installation, especially when working with electrical components.
Removing the Old Dishwasher
Before installing the new smart dishwasher, you’ll need to remove the old one. This process involves disconnecting power and water lines and detaching the unit from its place.
Disconnecting Power and Water Supply:
- Turn Off the Circuit Breaker: Ensure the dishwasher is completely powered off by switching off the corresponding circuit breaker.
- Shut Off the Water Valve: Locate the water shutoff valve under the sink or near the dishwasher. Turn it off to stop the water supply to the dishwasher.
Detaching the Old Dishwasher:
- Removing Mounting Brackets: Open the dishwasher door and locate the mounting brackets that secure the appliance to the countertop or cabinetry. Use a screwdriver to remove the screws holding these brackets in place.
- Disconnecting Electrical Wiring: Access the junction box, usually located at the bottom front of the dishwasher. Remove the cover and carefully disconnect the electrical wires, noting which wire connects where. Use wire nuts to cap the exposed wires.
- Disconnecting Water and Drain Hoses: Place a bucket or pan under the water supply line connection to catch any residual water. Use an adjustable wrench to loosen and disconnect the water supply line. Next, disconnect the drain hose from the garbage disposal or sink drain.
Once everything is disconnected, carefully slide the old dishwasher out of its space. You may need assistance if the appliance is heavy.
Preparing the Space for the New Dishwasher
With the old dishwasher removed, it’s time to prepare the space for the new smart dishwasher. This step ensures that the installation area is clean and ready for the new appliance.
Inspecting and Cleaning the Area:
- Checking for Damage or Obstructions: Inspect the space for any damage, such as water damage or mold, and make necessary repairs. Check for obstructions that could prevent the new dishwasher from fitting correctly.
- Cleaning the Space: Clean the area thoroughly, removing any debris, dirt, or grime. A clean installation area helps ensure a secure fit for the new dishwasher.
Adjusting Cabinet Opening and Leveling:
- Ensuring the Opening is the Correct Size: Measure the width, height, and depth of the opening to ensure it meets the specifications for your new dishwasher. Adjust as necessary to accommodate the new unit.
- Leveling the Floor Space: Use a level to check the floor where the dishwasher will sit. If the floor is uneven, use shims to level it. A level surface is crucial for the proper functioning of the dishwasher.
Installing the New Smart Dishwasher
Now that the space is ready, you can proceed with the installation of the new smart dishwasher. Follow these steps carefully to ensure a secure and efficient setup.
Positioning the Dishwasher:
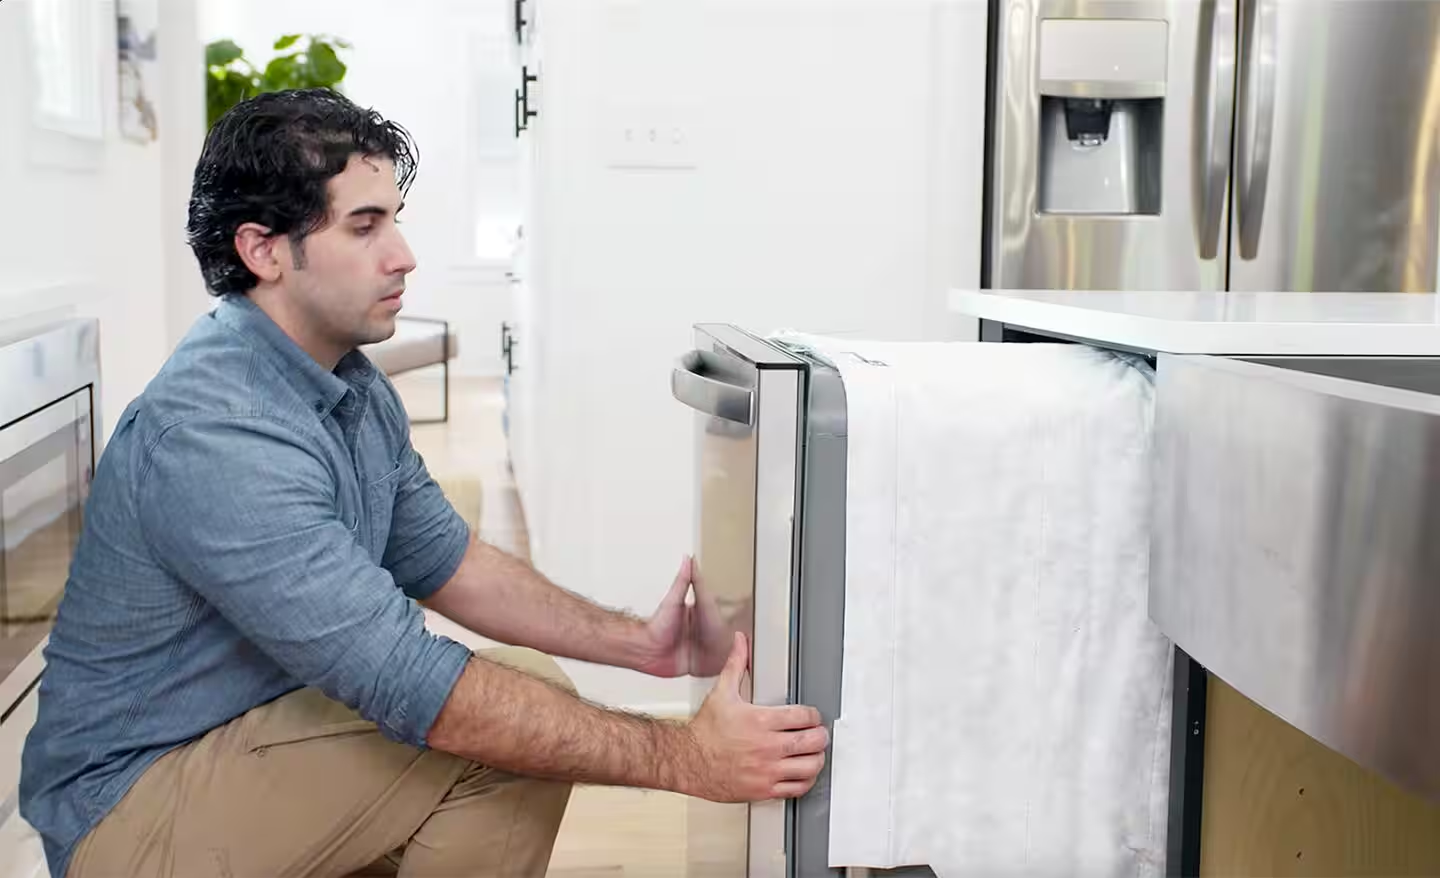
- Sliding the Dishwasher into Place: Carefully slide the new dishwasher into the prepared space, ensuring that it aligns with the cabinetry. Be mindful of the electrical and plumbing connections as you position the unit.
- Aligning with the Cabinet: Adjust the dishwasher so that it sits evenly with the surrounding cabinets. Use the leveling feet on the dishwasher to make any necessary height adjustments.
Connecting Electrical Wiring:
- Attaching the Electrical Wire Connections: Reconnect the electrical wires in the junction box, matching the wires to their corresponding colors (usually black to black, white to white, and green or bare to ground). Secure the connections with wire nuts and wrap them with electrical tape for added safety.
- Securing the Wiring in Place: Tuck the wires neatly into the junction box and replace the cover. Ensure all connections are secure and not exposed.
Connecting Water Supply and Drain Hose:
- Attaching the Water Supply Line: Wrap Teflon tape around the threads of the water inlet on the dishwasher. Attach the water supply line and tighten it with an adjustable wrench. Be careful not to overtighten, as this could damage the connection.
- Connecting the Drain Hose: Attach the drain hose to the dishwasher’s drain outlet and secure it with a hose clamp. Then, connect the other end of the drain hose to the sink drain or garbage disposal. Ensure the drain hose has a high loop to prevent backflow of water into the dishwasher.
Securing the Dishwasher:
- Attaching the Mounting Brackets: Secure the dishwasher to the countertop or cabinetry using the provided mounting brackets. This step prevents the dishwasher from tipping forward when the door is open.
- Checking for Proper Alignment and Stability: Use a level to ensure the dishwasher is perfectly level. Adjust the leveling feet as needed. Check that the dishwasher is securely attached and doesn’t wobble.
Testing and Configuration
After the physical installation is complete, it’s time to test the dishwasher and set up its smart features.
Checking for Leaks and Proper Connections:
- Running a Test Cycle: Turn on the water supply and power to the dishwasher. Run a test cycle to ensure the appliance is working correctly. Monitor the connections for any leaks, especially around the water supply line and drain hose.
- Inspecting for Any Issues: Listen for unusual noises and check that the dishwasher drains properly. Address any issues promptly.
Setting Up the Smart Features:
- Connecting to Wi-Fi: Follow the manufacturer’s instructions to connect the dishwasher to your home Wi-Fi network. This usually involves using a smartphone app to pair the dishwasher with your network.
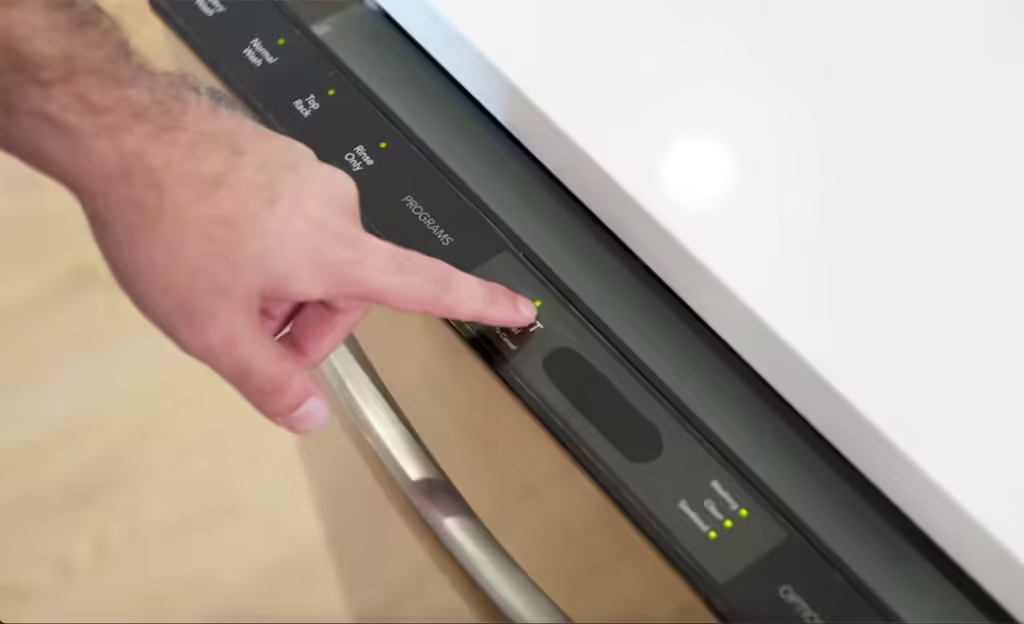
- Configuring the Dishwasher via App or Control Panel: Use the app or the dishwasher’s control panel to set up your preferences, such as wash cycles and drying options. Explore the smart features available, like remote start, notifications, and voice control.
- Testing Smart Functionalities: Test the smart functionalities to ensure everything is working correctly. For example, try starting a wash cycle remotely or using a voice assistant to control the dishwasher.
Final Steps and Maintenance Tips
With the dishwasher installed and tested, there are a few final steps to complete the process.
Final Adjustments and Cleaning:
- Adjusting the Dishwasher as Needed: Make any final adjustments to the dishwasher’s position or settings. Ensure that it sits flush with the cabinetry and operates smoothly.
- Cleaning Up Installation Debris: Dispose of any packaging materials, old dishwasher parts, and installation debris. Clean the surrounding area to leave your kitchen tidy and ready for use.
Maintenance and Care:
- Regular Cleaning and Maintenance Tips: To keep your smart dishwasher running efficiently, perform regular maintenance. This includes cleaning the filter, checking the spray arms, and wiping down the interior. Refer to the user manual for specific maintenance recommendations.
- Software Updates and Troubleshooting: Keep the dishwasher’s software up to date by checking for updates through the app. If you encounter any issues, consult the troubleshooting section of the manual or contact customer support.
Conclusion
Installing a smart dishwasher is a valuable upgrade that enhances the functionality and convenience of your kitchen. By following this comprehensive guide, you can ensure a smooth and successful installation process. From pre-installation preparation to testing and maintenance, each step is crucial in setting up your new appliance correctly.
Smart dishwashers offer numerous benefits, including remote control capabilities, energy efficiency, and customizable wash cycles. They make everyday tasks more manageable and provide peace of mind with features like diagnostic alerts and water leak detection.
Remember to enjoy the new features and conveniences your smart dishwasher brings. With proper installation and regular maintenance, your smart dishwasher will serve you well for years to come, making dishwashing a hassle-free and efficient process.


